> ## Documentation Index
> Fetch the complete documentation index at: https://botpress-charmenta-pr-655.mintlify.site/llms.txt
> Use this file to discover all available pages before exploring further.
# Send custom events from Webchat to your website
> Let your website know when something happens in your user's conversation.
You can send custom events from Webchat to your website. This is useful if you want your website to perform an action when your user reaches a certain point in its conversation with your bot.
You will need:
* A website with an [embedded bot](webchat/get-started/quick-start)
* Familiarity with JavaScript
In Botpress Studio, add a **Send Custom Event** Card to the Node you want to trigger the event from:
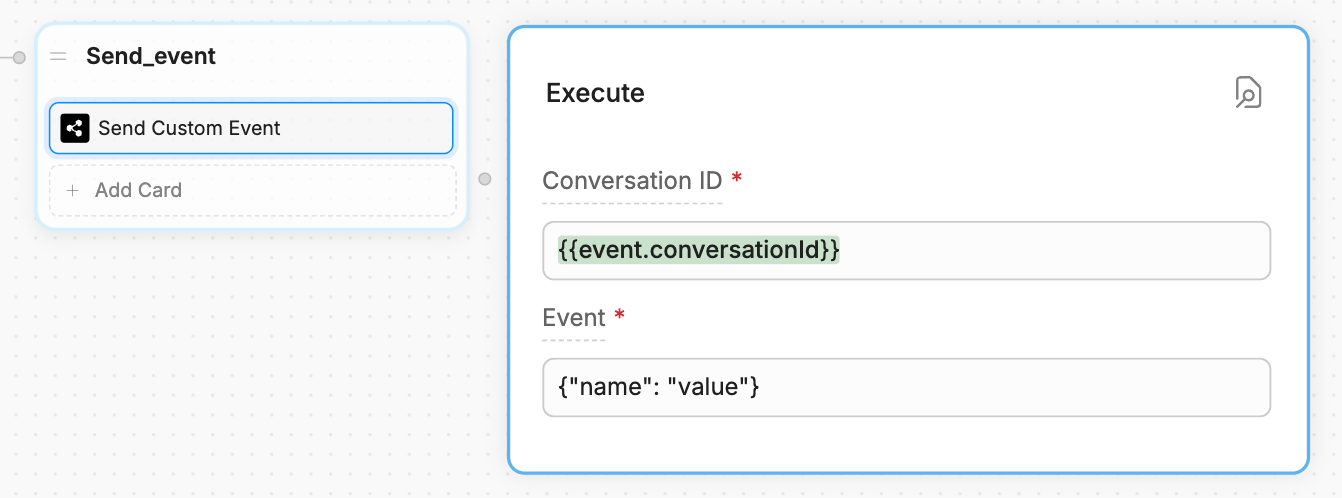
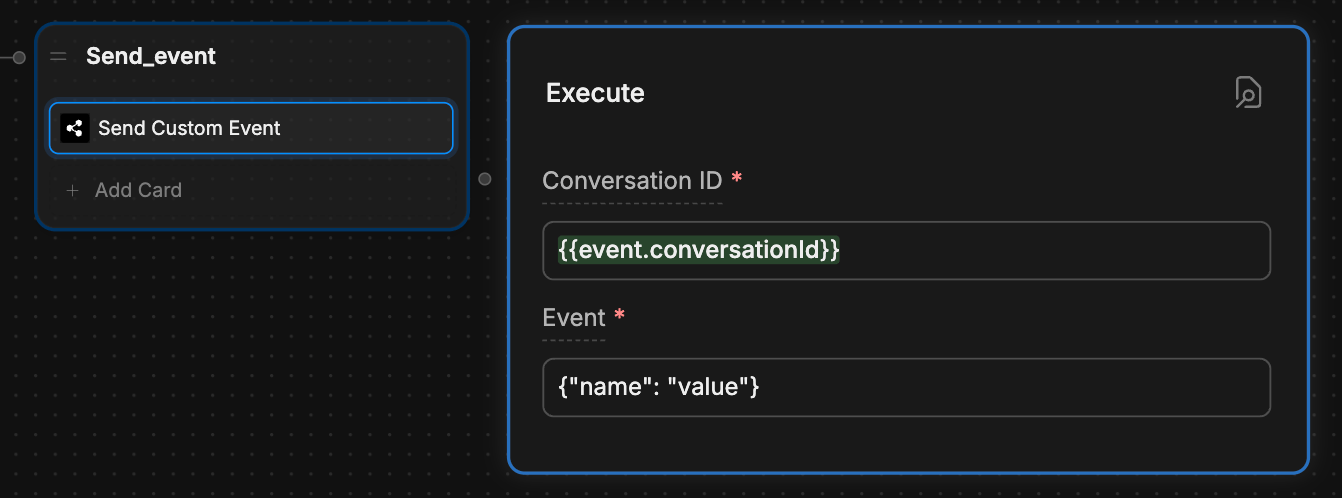 Set the **Conversation ID** to `{{event.conversationId}}`. Then, add any [valid JSON](https://www.w3schools.com/js/js_json_syntax.asp) to the **Event** field.
The contents of the **Event** field should clearly identify the action you want your website to perform. For example, if you want to checkout with the user's current shopping cart, you could add something like `{"action": "checkout"}`.
You can also use [variables](/studio/concepts/variables/) to dynamically insert the contents of the **Event** field.
Now, you can react to the event in your website's source code using a [custom event listener](/webchat/interact/listen-to-events/#custom-event).
```javascript index.js {3} theme={null}
window.botpress.on('customEvent', (event) => {
console.log('Custom event triggered: ', event);
// Insert your code here
});
```
Here, `event` contains whatever data you put in the **Event** field of the **Send Custom Event** Card. You can read its contents if you want your website to react differently depending on which custom event you send. For example:
```javascript index.js {3-8} theme={null}
window.botpress.on('customEvent', (event) => {
console.log('Custom event triggered: ', event);
if (event.action === "action1") {
// Handle the first kind of event
}
else if (event.action === "action2") {
// Handle the second kind of event
}
});
```
You can [listen to other kinds of Webchat events](/webchat/interact/listen-to-events), too.
Set the **Conversation ID** to `{{event.conversationId}}`. Then, add any [valid JSON](https://www.w3schools.com/js/js_json_syntax.asp) to the **Event** field.
The contents of the **Event** field should clearly identify the action you want your website to perform. For example, if you want to checkout with the user's current shopping cart, you could add something like `{"action": "checkout"}`.
You can also use [variables](/studio/concepts/variables/) to dynamically insert the contents of the **Event** field.
Now, you can react to the event in your website's source code using a [custom event listener](/webchat/interact/listen-to-events/#custom-event).
```javascript index.js {3} theme={null}
window.botpress.on('customEvent', (event) => {
console.log('Custom event triggered: ', event);
// Insert your code here
});
```
Here, `event` contains whatever data you put in the **Event** field of the **Send Custom Event** Card. You can read its contents if you want your website to react differently depending on which custom event you send. For example:
```javascript index.js {3-8} theme={null}
window.botpress.on('customEvent', (event) => {
console.log('Custom event triggered: ', event);
if (event.action === "action1") {
// Handle the first kind of event
}
else if (event.action === "action2") {
// Handle the second kind of event
}
});
```
You can [listen to other kinds of Webchat events](/webchat/interact/listen-to-events), too.